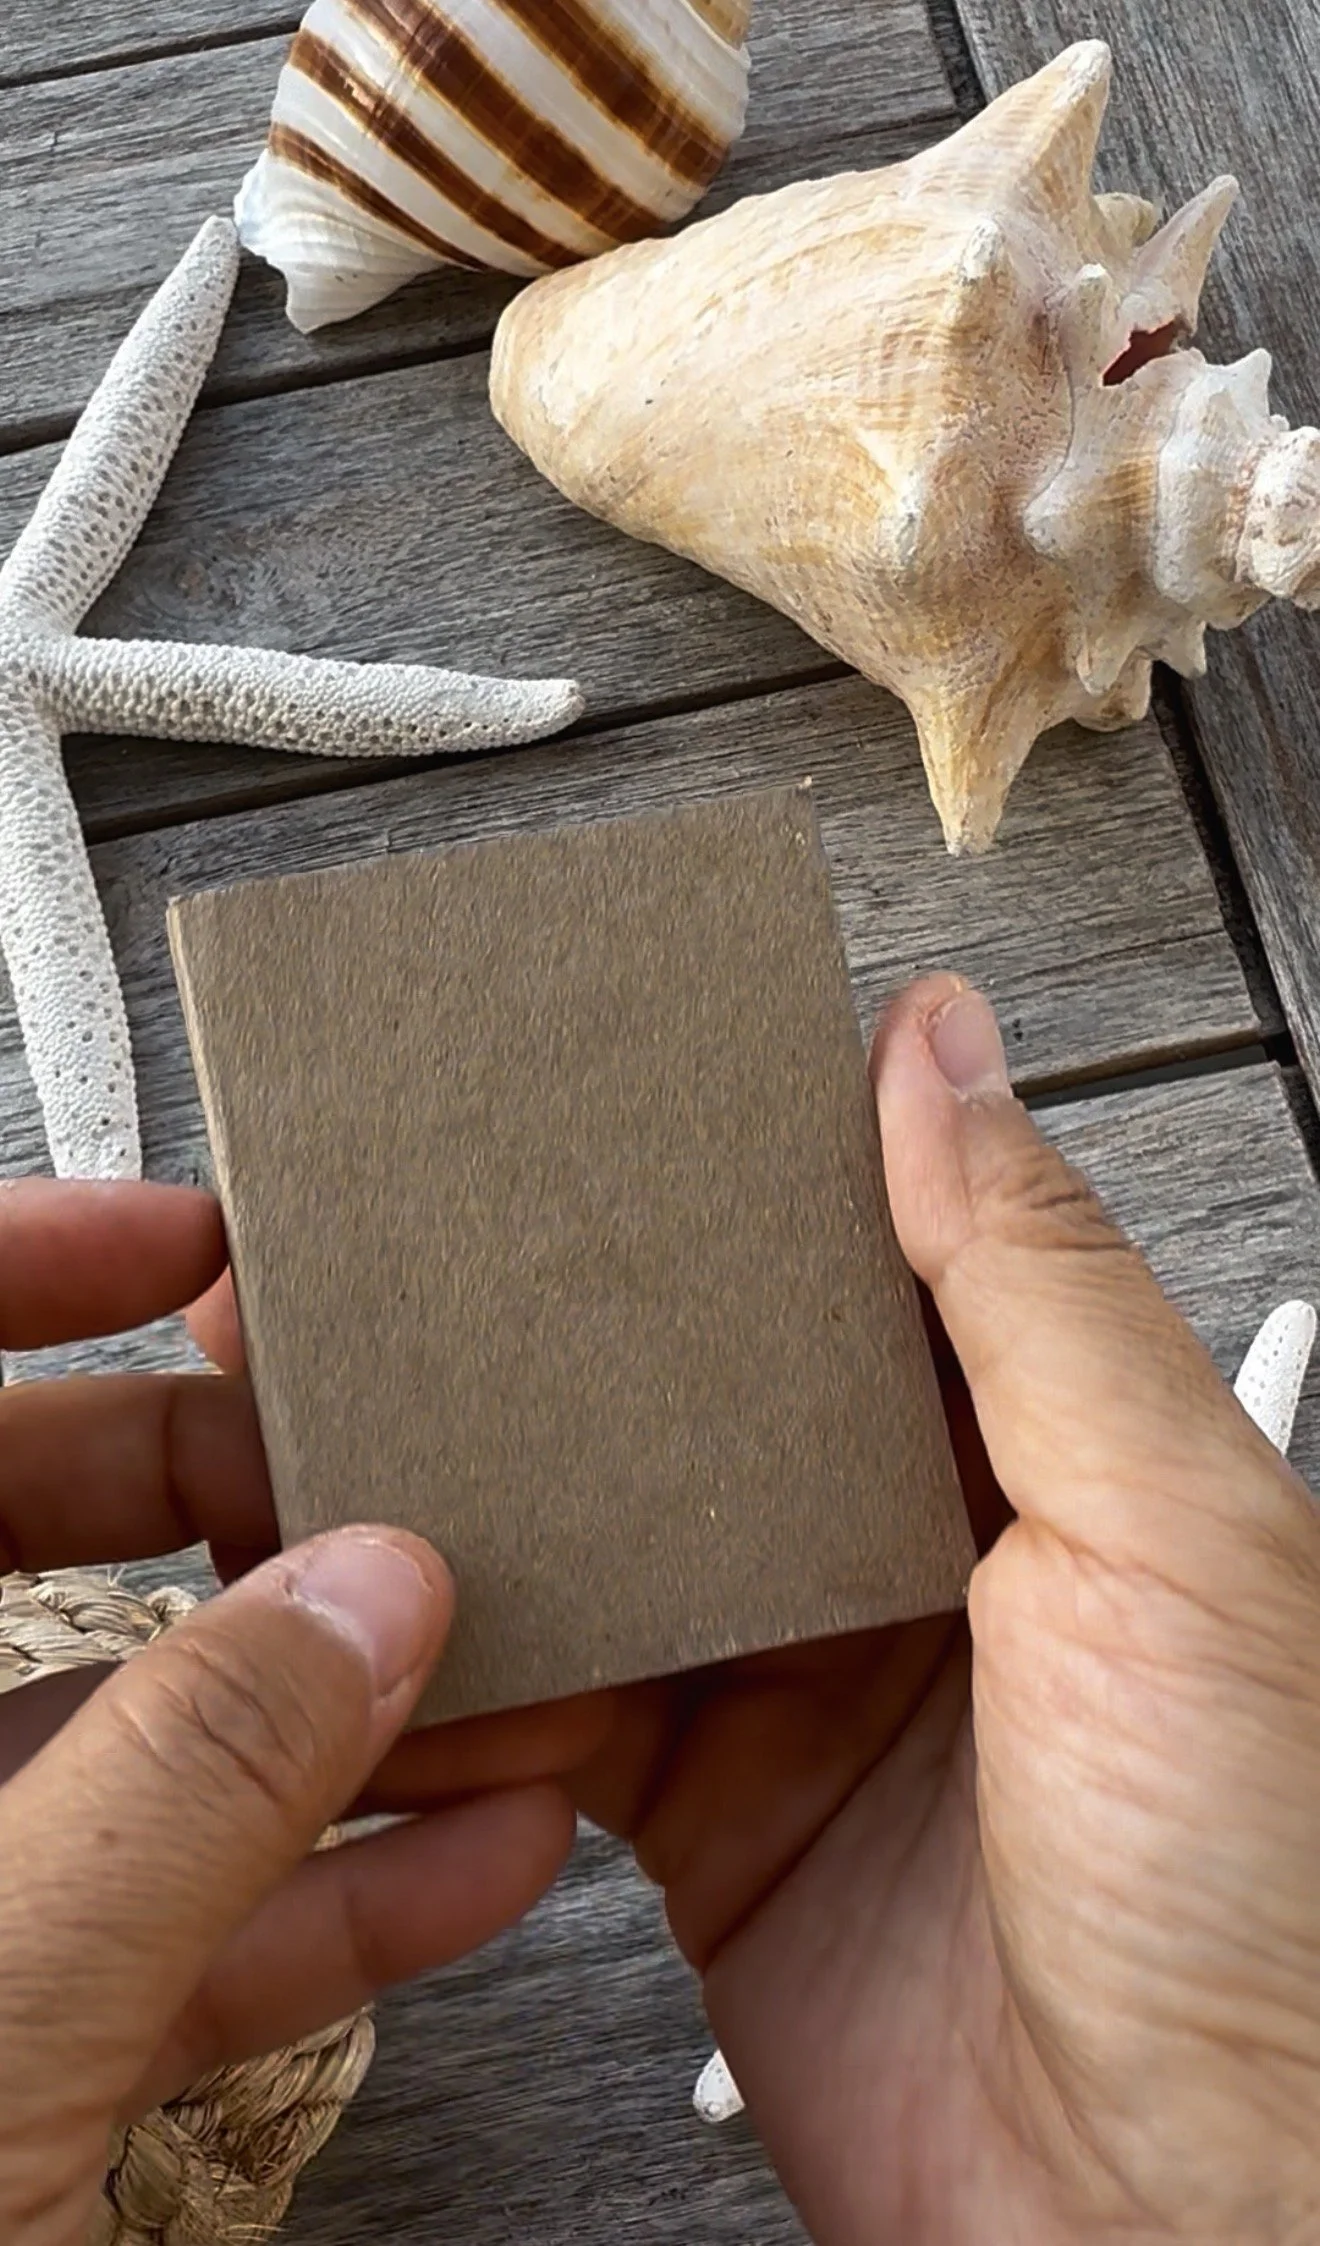
The Easiest Mini Art Book
Can you believe this little art book starts with just one sheet of paper and three cuts? I used watercolor paper so I can paint right inside mine. It makes the cutest little sketchbook for kids or adults!
What You’ll Need
1 sheet of watercolor paper
Scissors
Chipboard or heavy cardstock for the cover
Books by Hand pH Neutral PVA Adhesive — this is the one I use
Watercolors, pens, or your favorite art supplies
Before you start: I’ve included photos of the process at the bottom of this page. If you need a little visual help along the way, scroll down and take a peek!
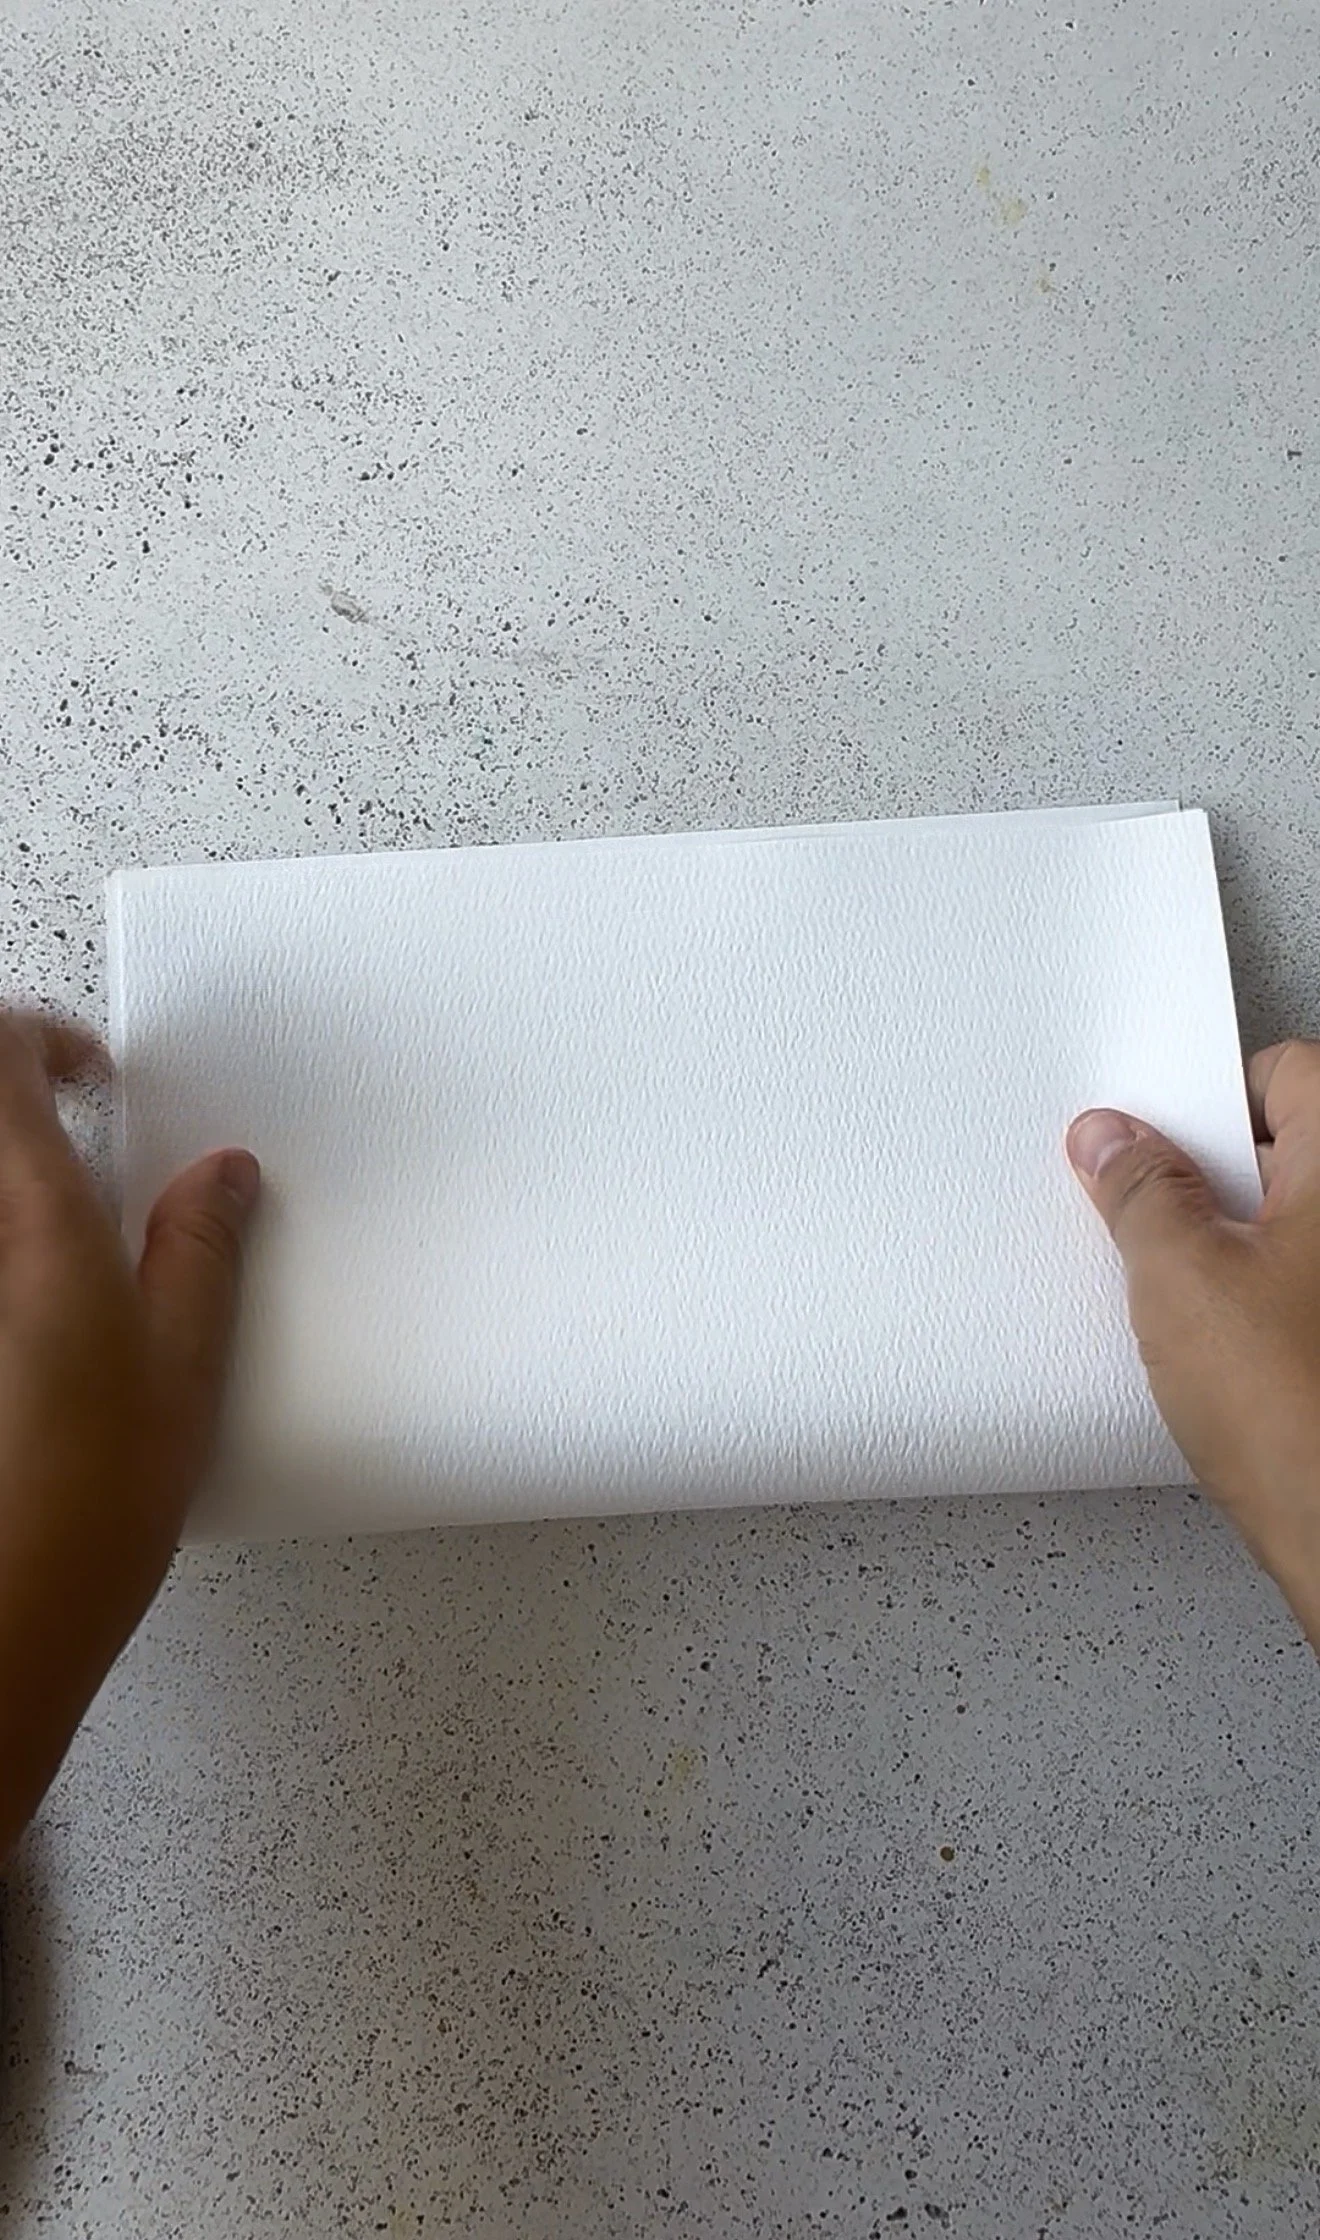
1. Fold Your Paper Into 16 Sections
Place your paper in front of you.
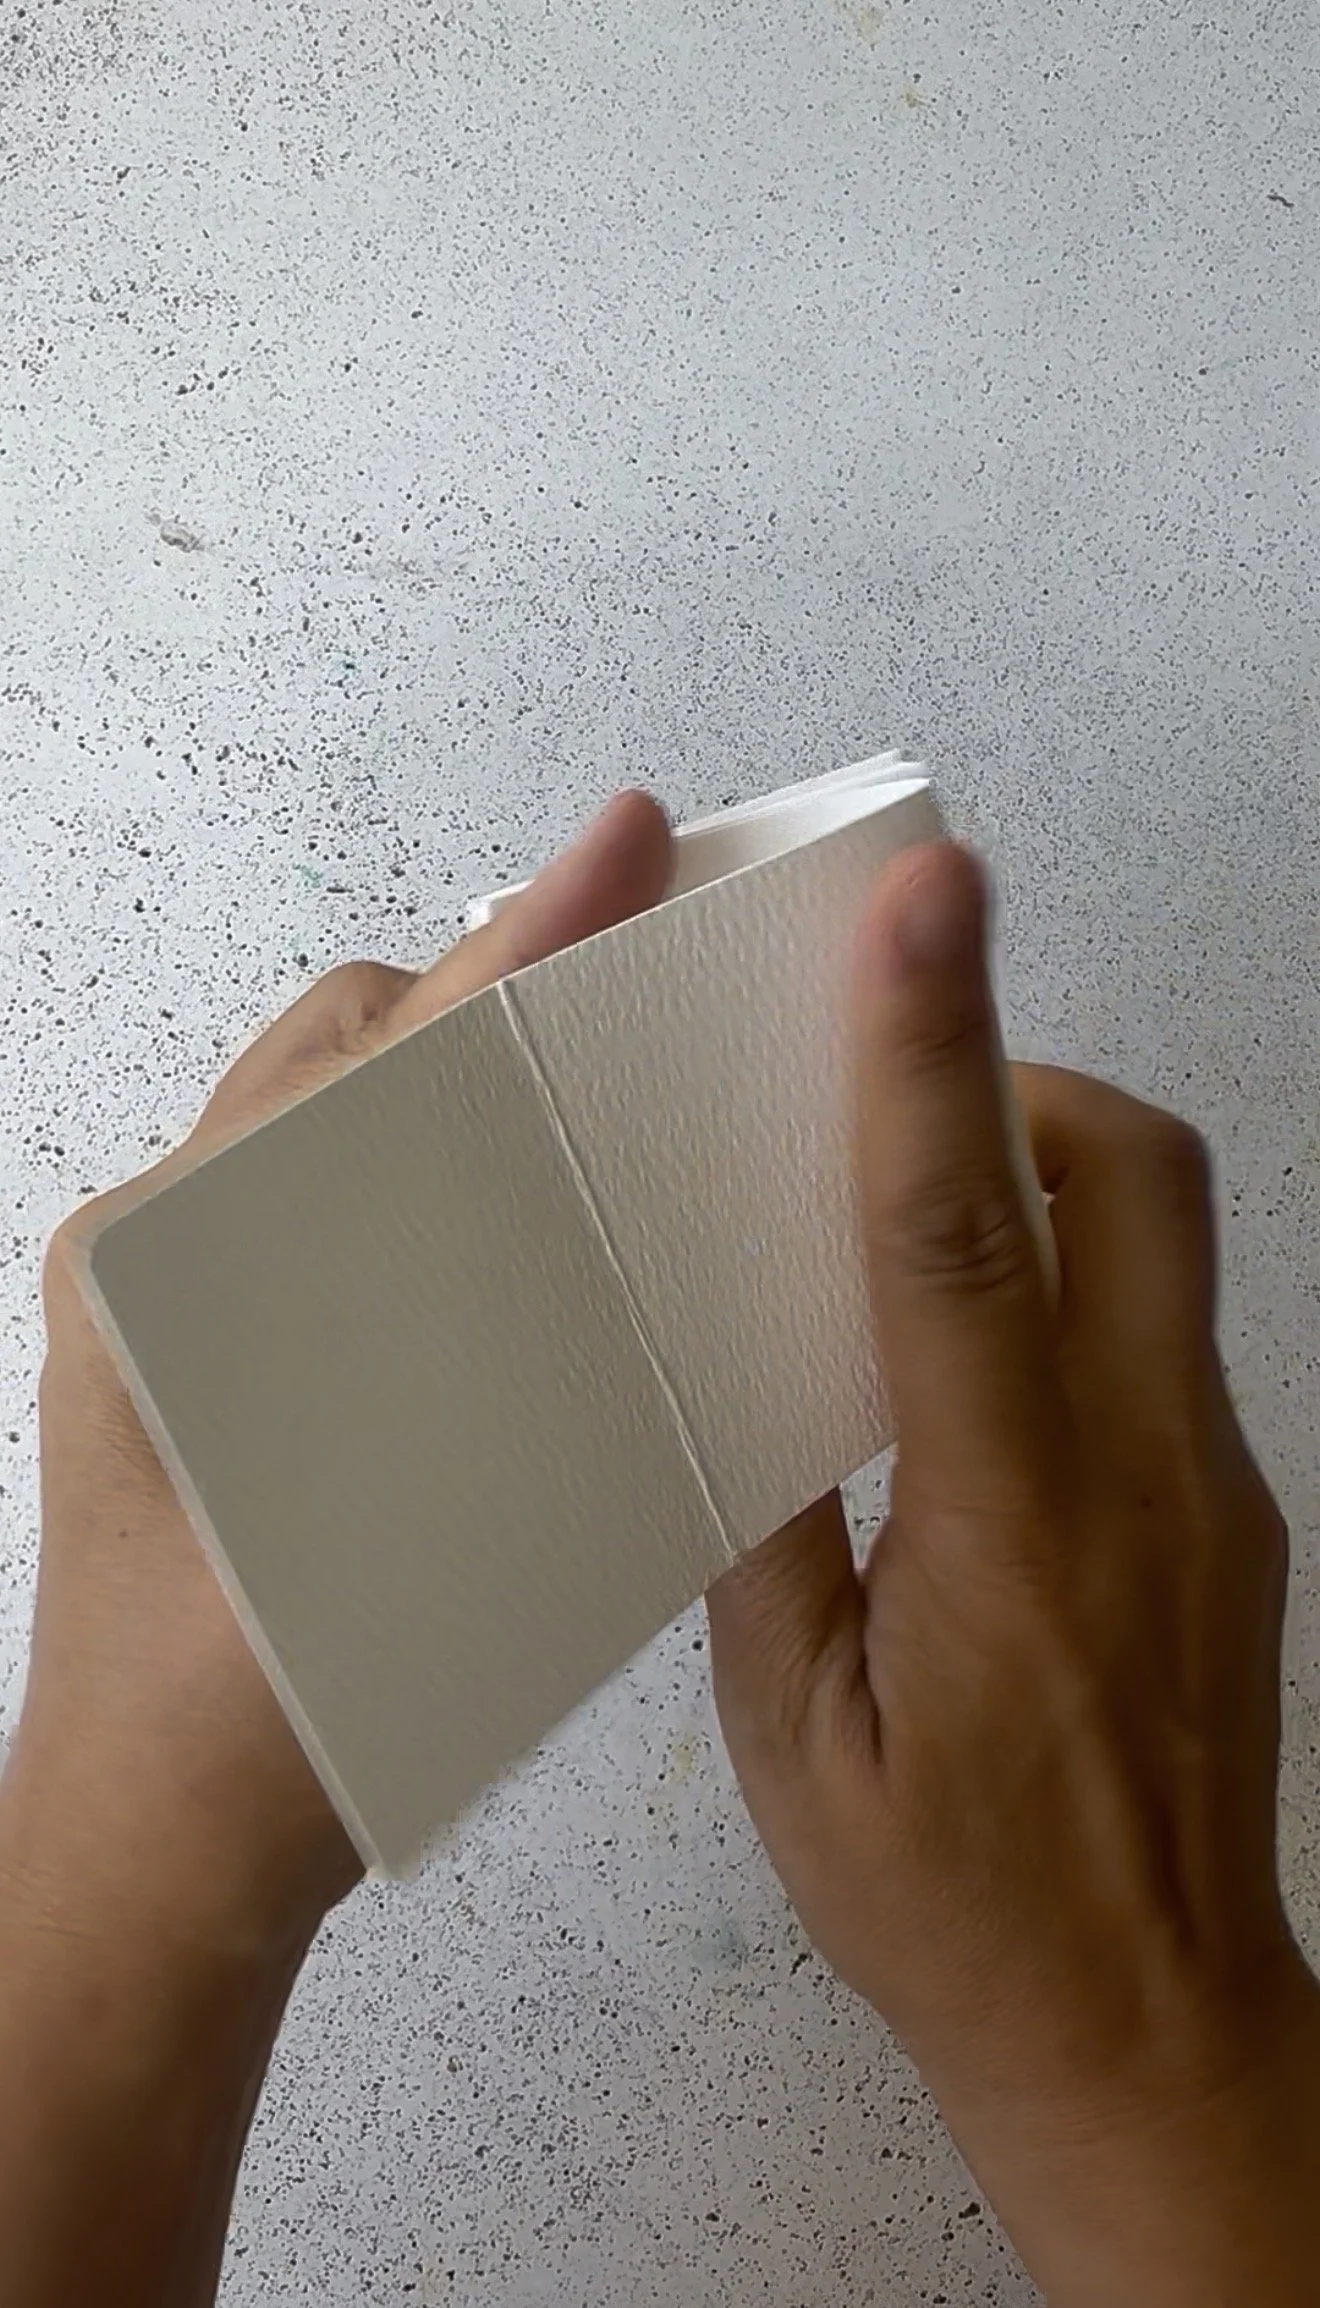
Fold the paper in half. Press down firmly on the fold to make a good crease. Then open the paper back up. You should see one crease down the middle.
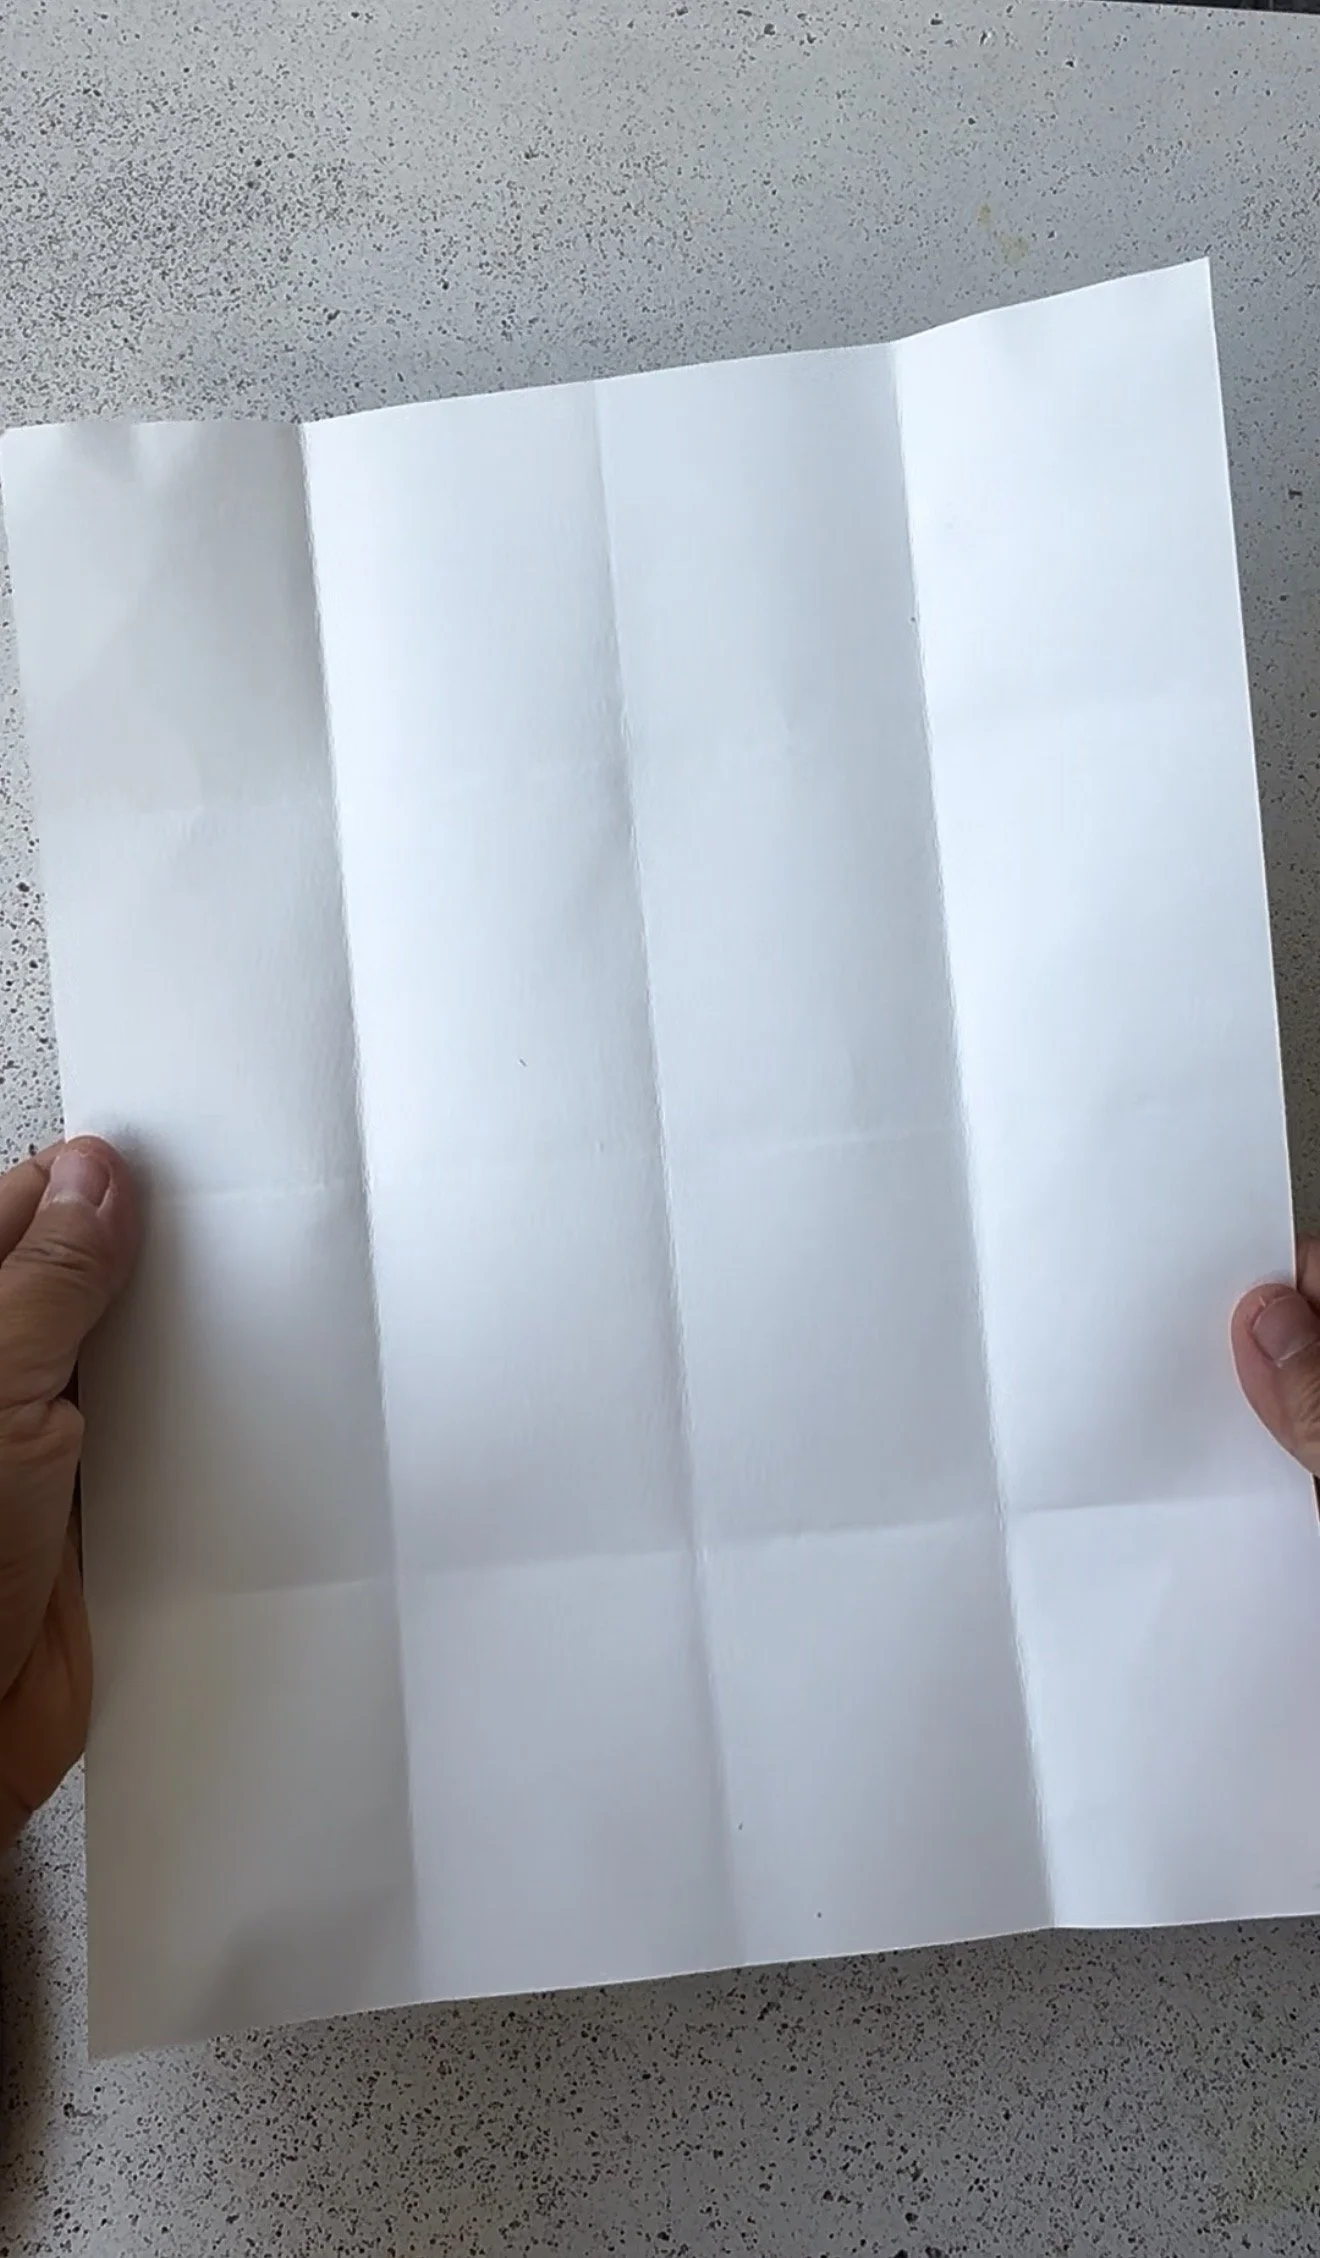
Take one outside edge of the paper and fold it in until it meets the center crease. Press the fold firmly.
Do the same thing with the other outside edge. Fold it in until it meets the center crease.
Open your paper flat. You should now see 4 equal sections going one direction.
Turn your paper 90 degrees (a quarter turn).
Fold the paper in half again. Press the crease, then open it back up.
Fold each outside edge in to meet the new center crease, just like you did before.
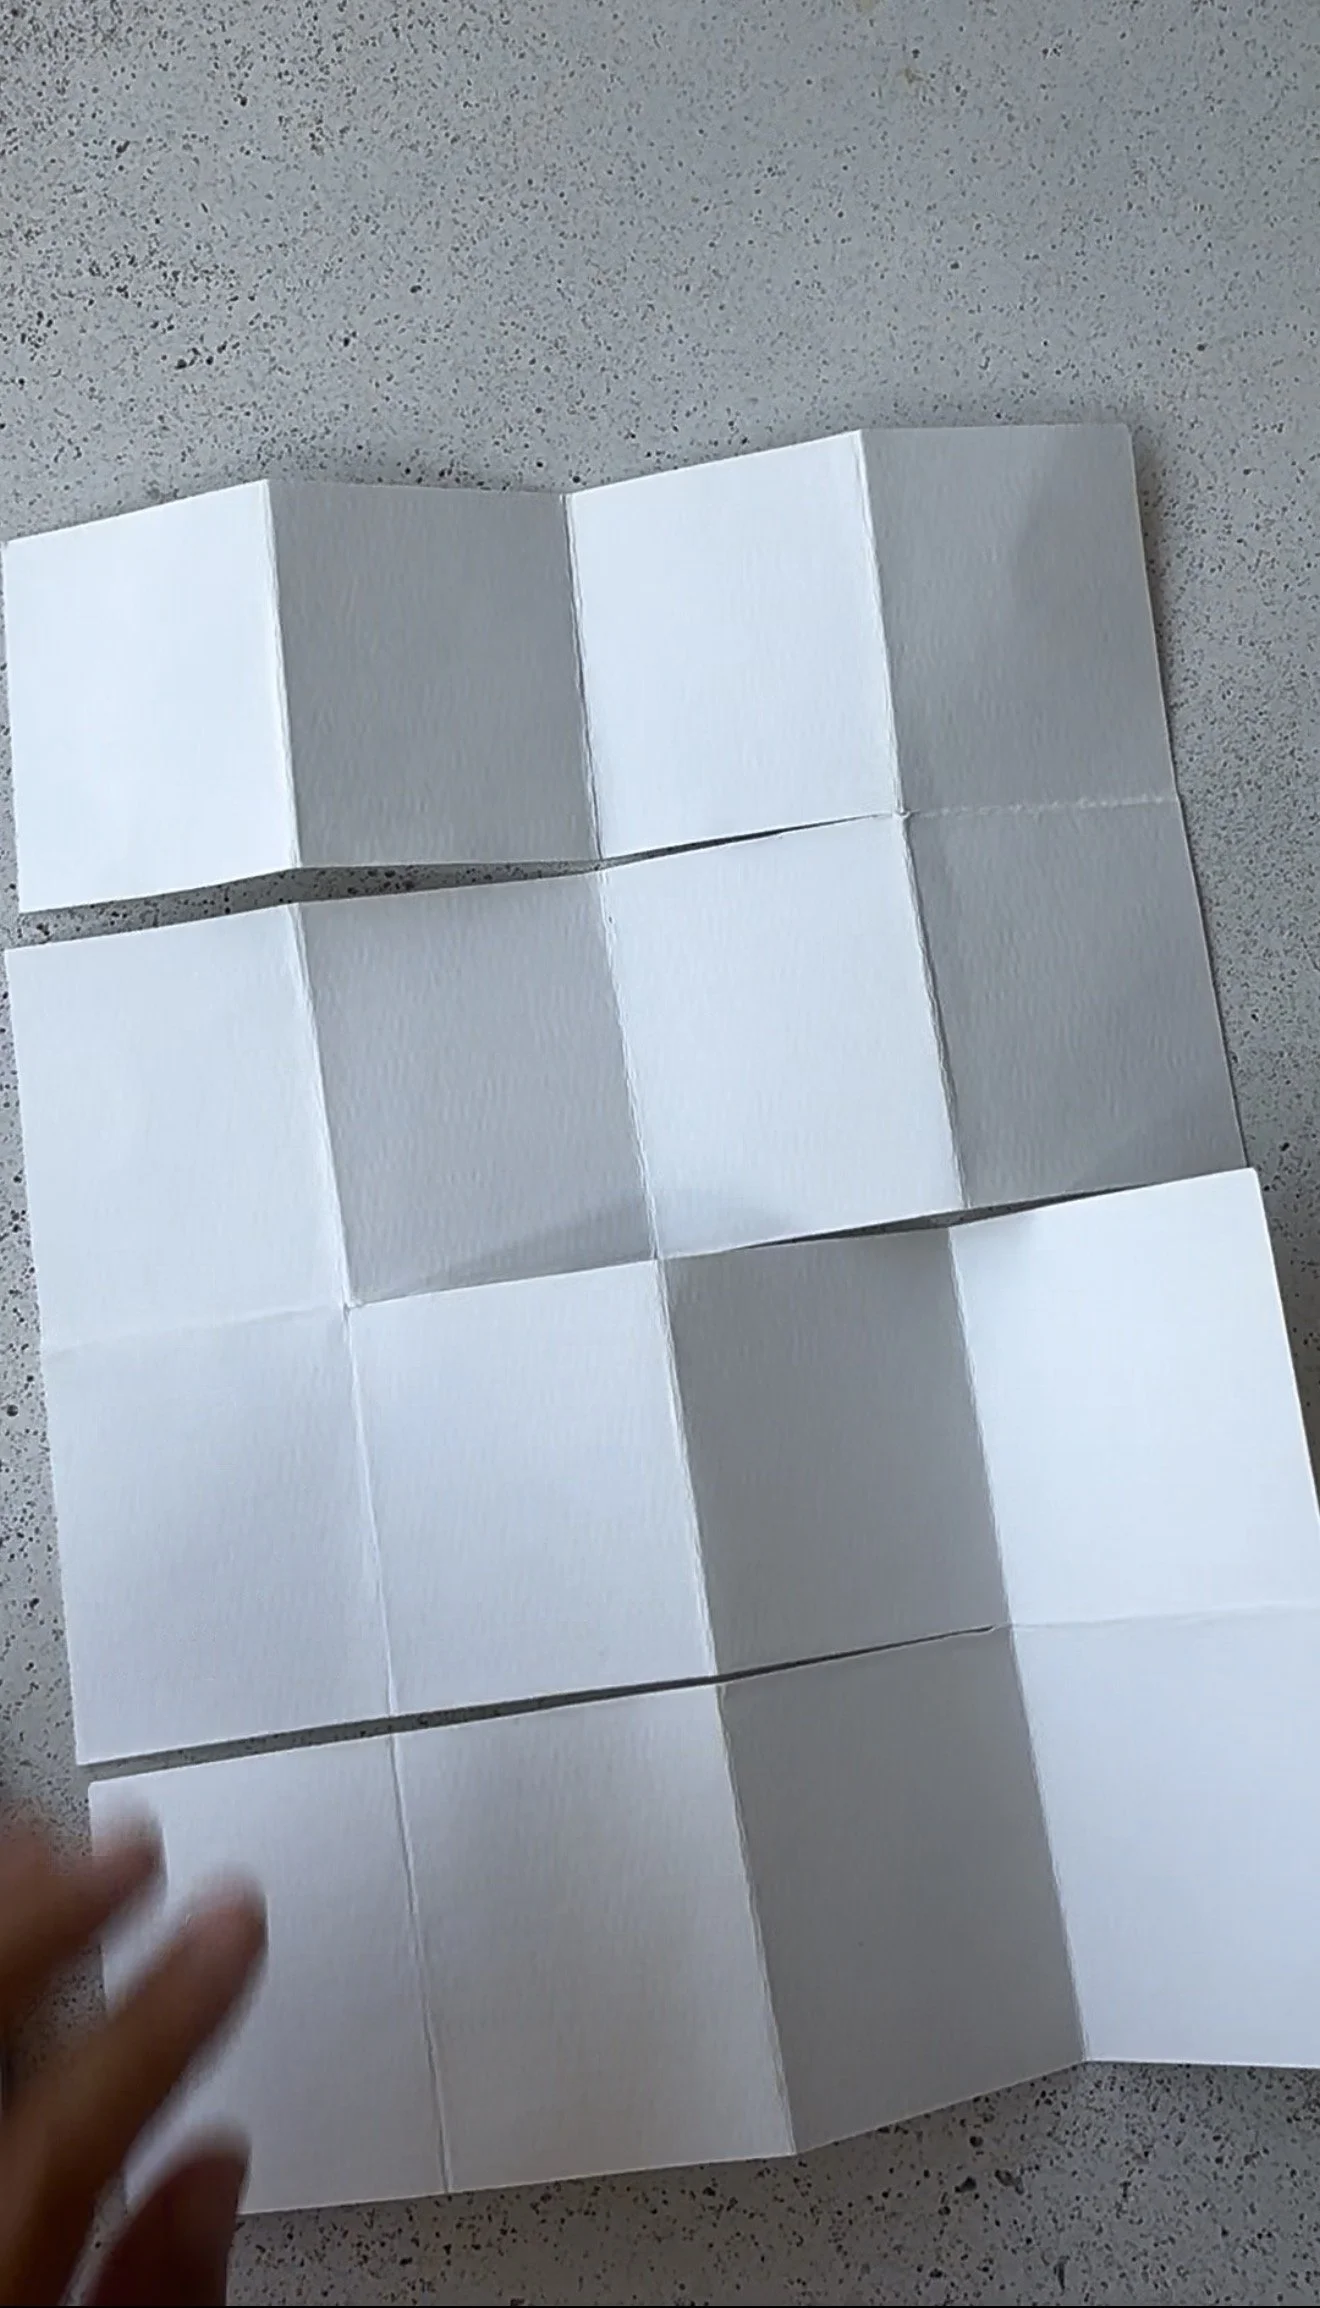
Open your paper completely flat. You should now see 16 little sections created by all of your fold lines.
Tip: Press each fold firmly as you go. These crease lines will make the next steps much easier.
2. Make 3 Cuts
Open your paper completely flat. You should see the 16 sections you made in Step 1.
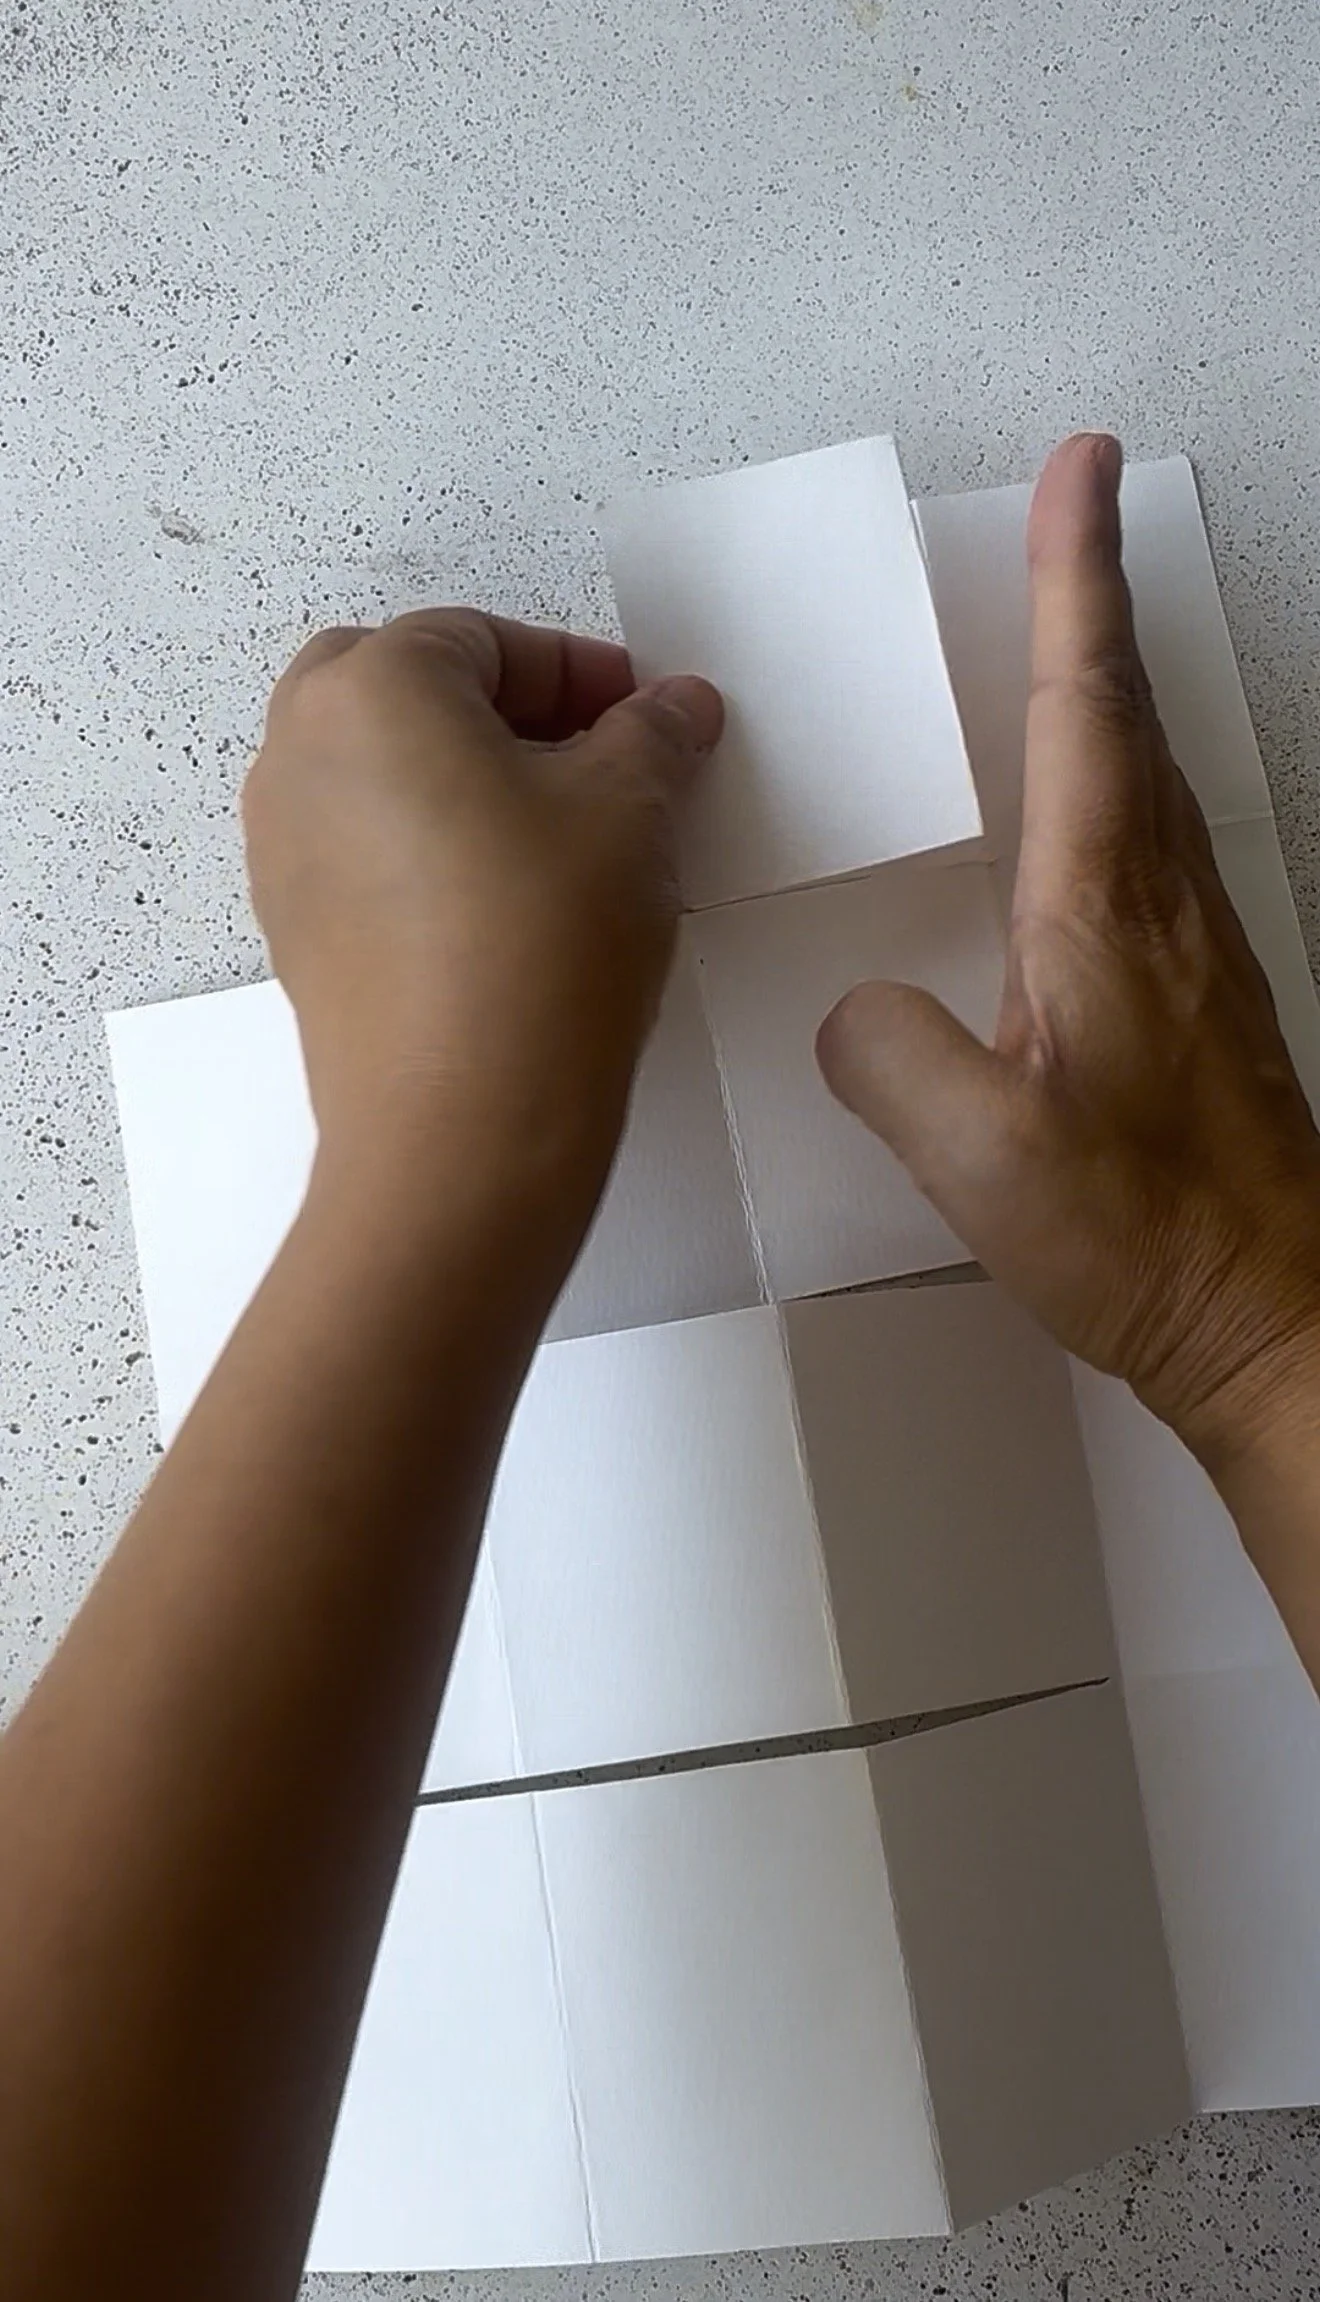
You are going to make 3 cuts along the fold lines.
Start at one side of the paper. Cut along the first fold line. Stop before you reach the last section. Do not cut all the way across the paper.
For the second cut, start from the opposite side of the paper. Cut along the next fold line. Again, stop before you reach the last section.
For the third cut, go back to the same side where you started your first cut. Cut along the last fold line and stop before the last section.
Your cuts should go in this pattern:
First cut → from one side
Second cut ← from the other side
Third cut → from the first side again
Important: Do not cut all the way across the paper. The paper needs to stay connected in one long piece.
3. Fold Your Mini Book
Now you are ready to turn the paper into pages!
Start with the first section at one end of your paper.
Fold that section over along the crease.
When you reach the next section, fold it in the opposite direction.
Keep folding back, then forward, then back again, like an accordion or a fan.
When you reach the end of a cut, turn the paper and keep following the connected sections. Do not tear or separate the paper.
Keep going until you have folded all 16 sections.
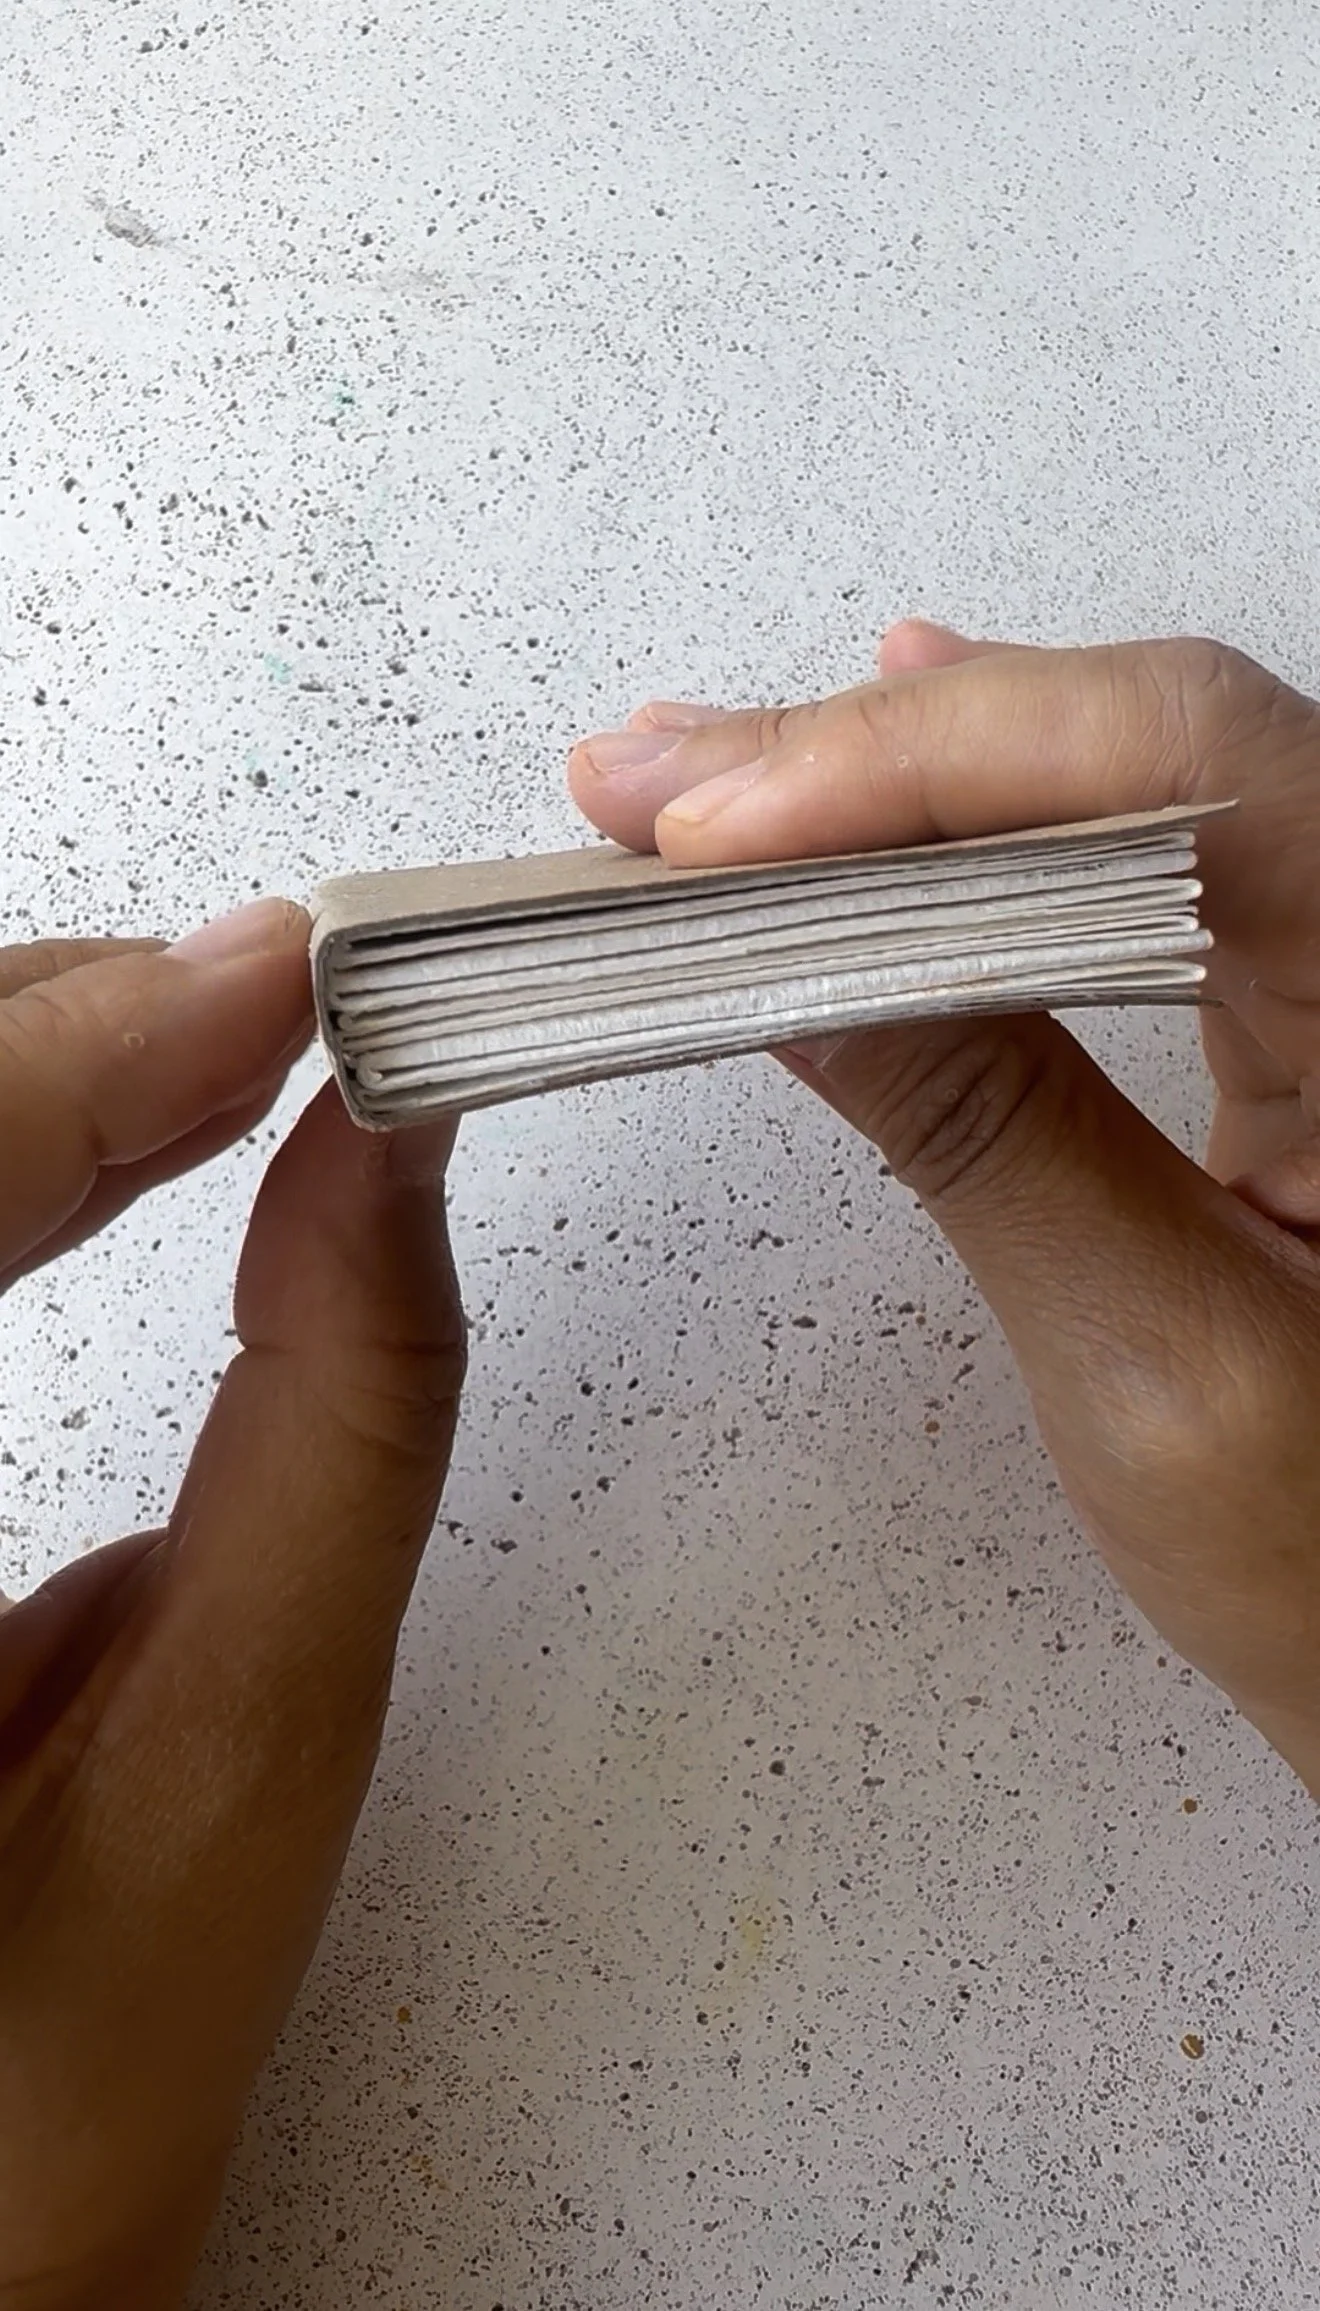
When you are finished, the sections should sit together in one small stack. These will become the pages of your mini book.
4. Make the Cover
Open your mini book and lay it flat on your cover paper. Trace around it to get the size of your front and back covers.
Measure the width of the spine (the thickness of your closed book) and add that extra space to your cover.
Draw your final rectangle and cut it out.
Mark two lines for the spine, making sure the spine is evenly centered between the front and back covers.
Crease and fold along both lines.
Wrap the cover around your mini book to check the fit before gluing.
5. Attach the Cover
Lay your cover flat with the inside facing up.
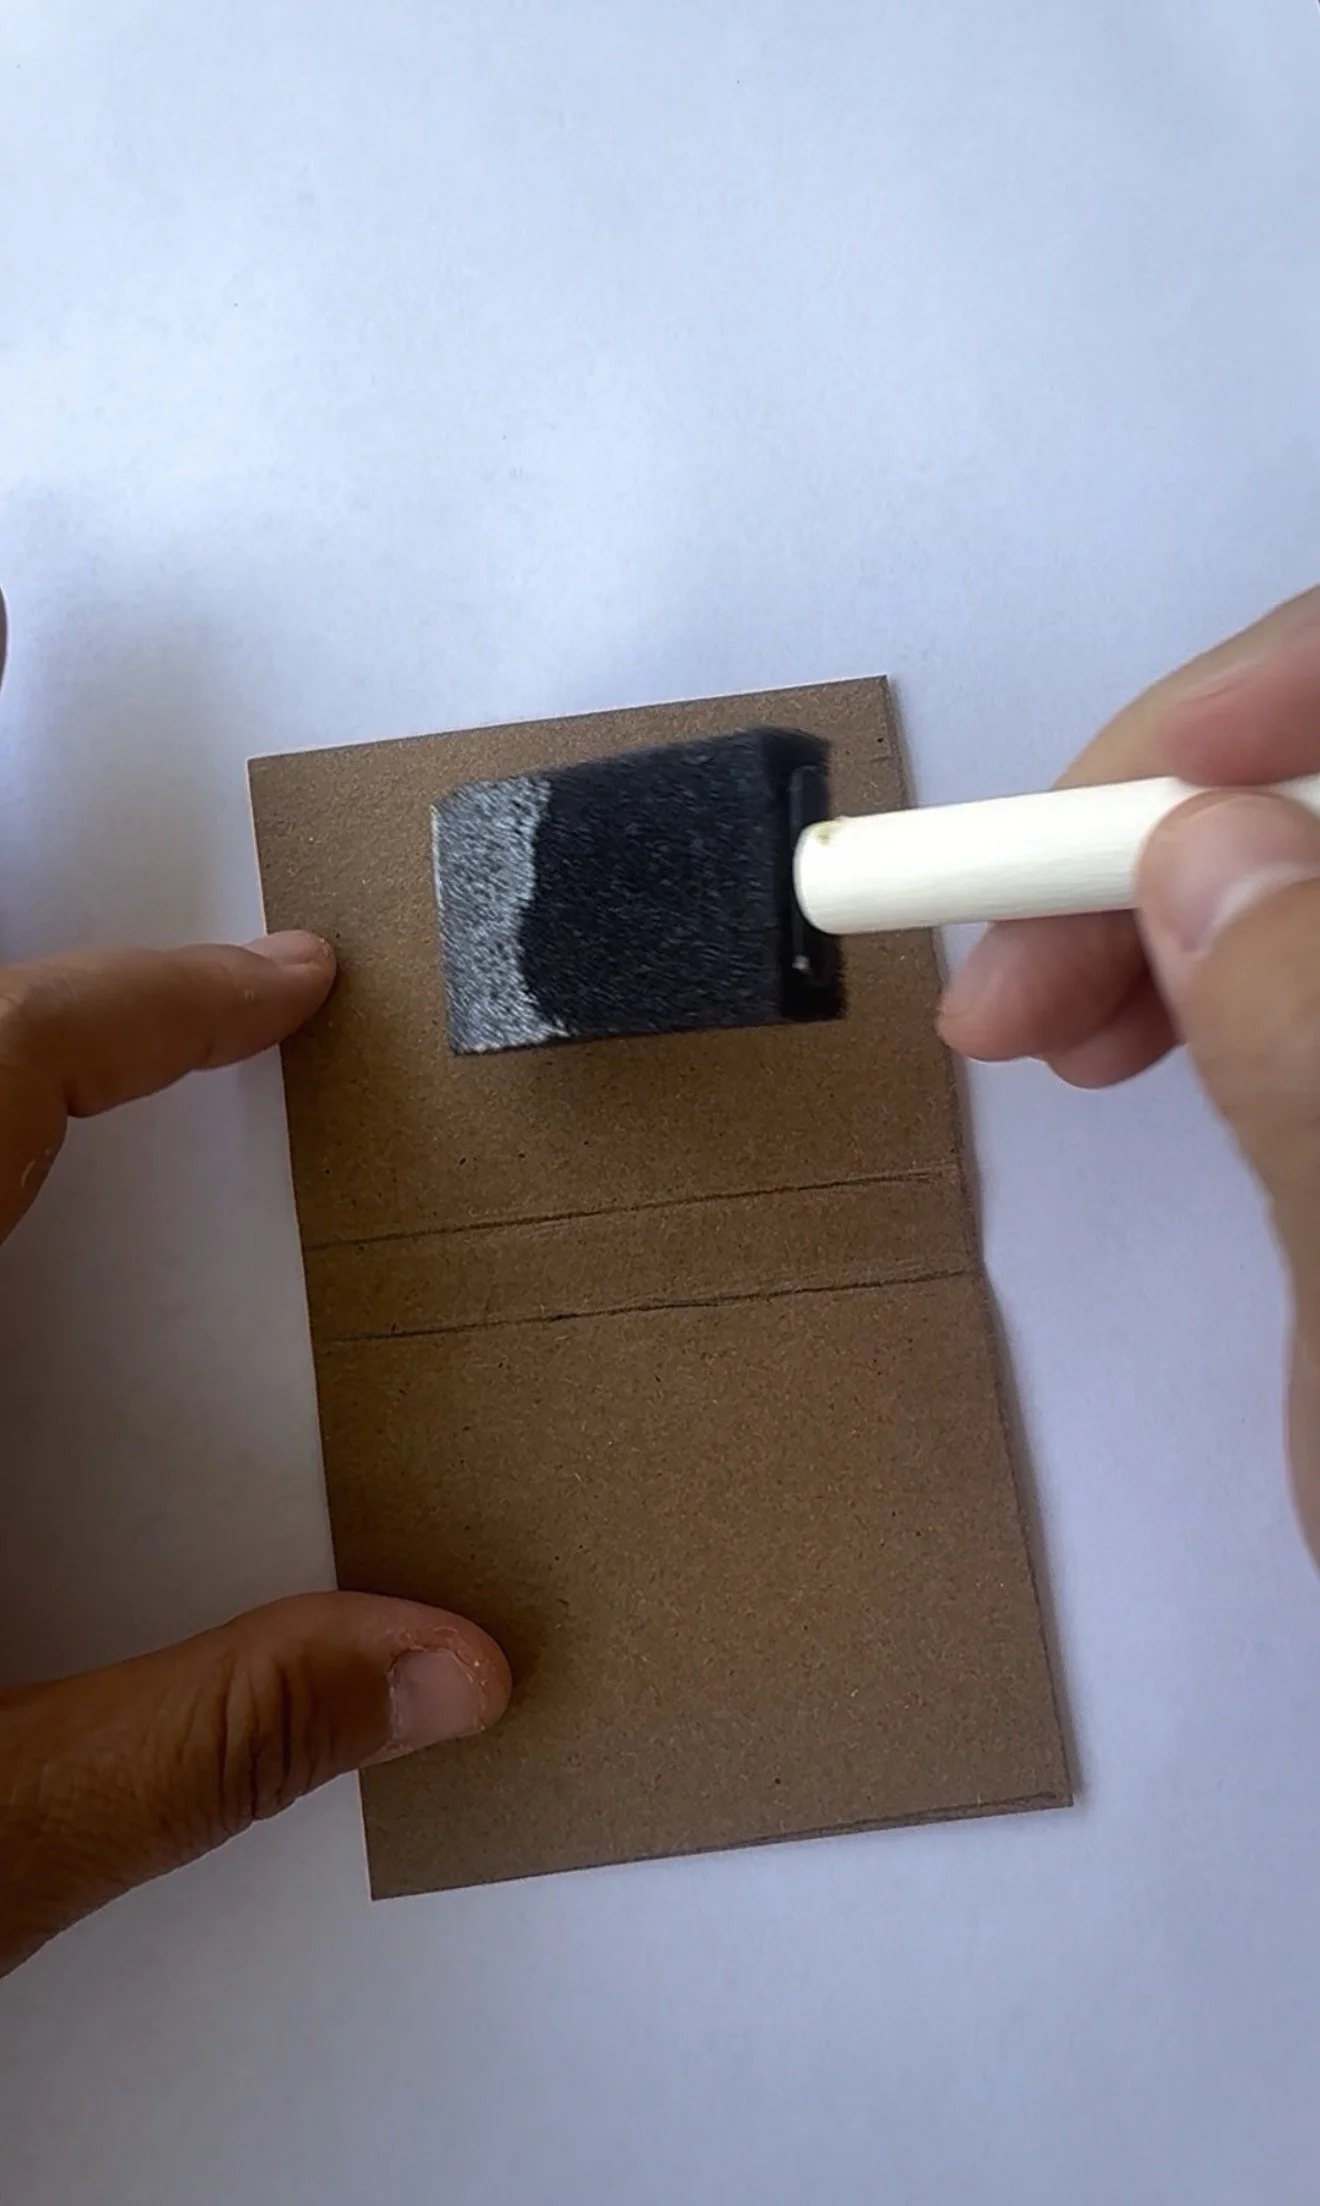
Apply a thin layer of glue over the entire inside of the cover - front, spine, and back. Make sure you get glue into the spine area too.
Spread the glue into a thin, even layer. I like to use a Q-tip or small sponge brush for this.
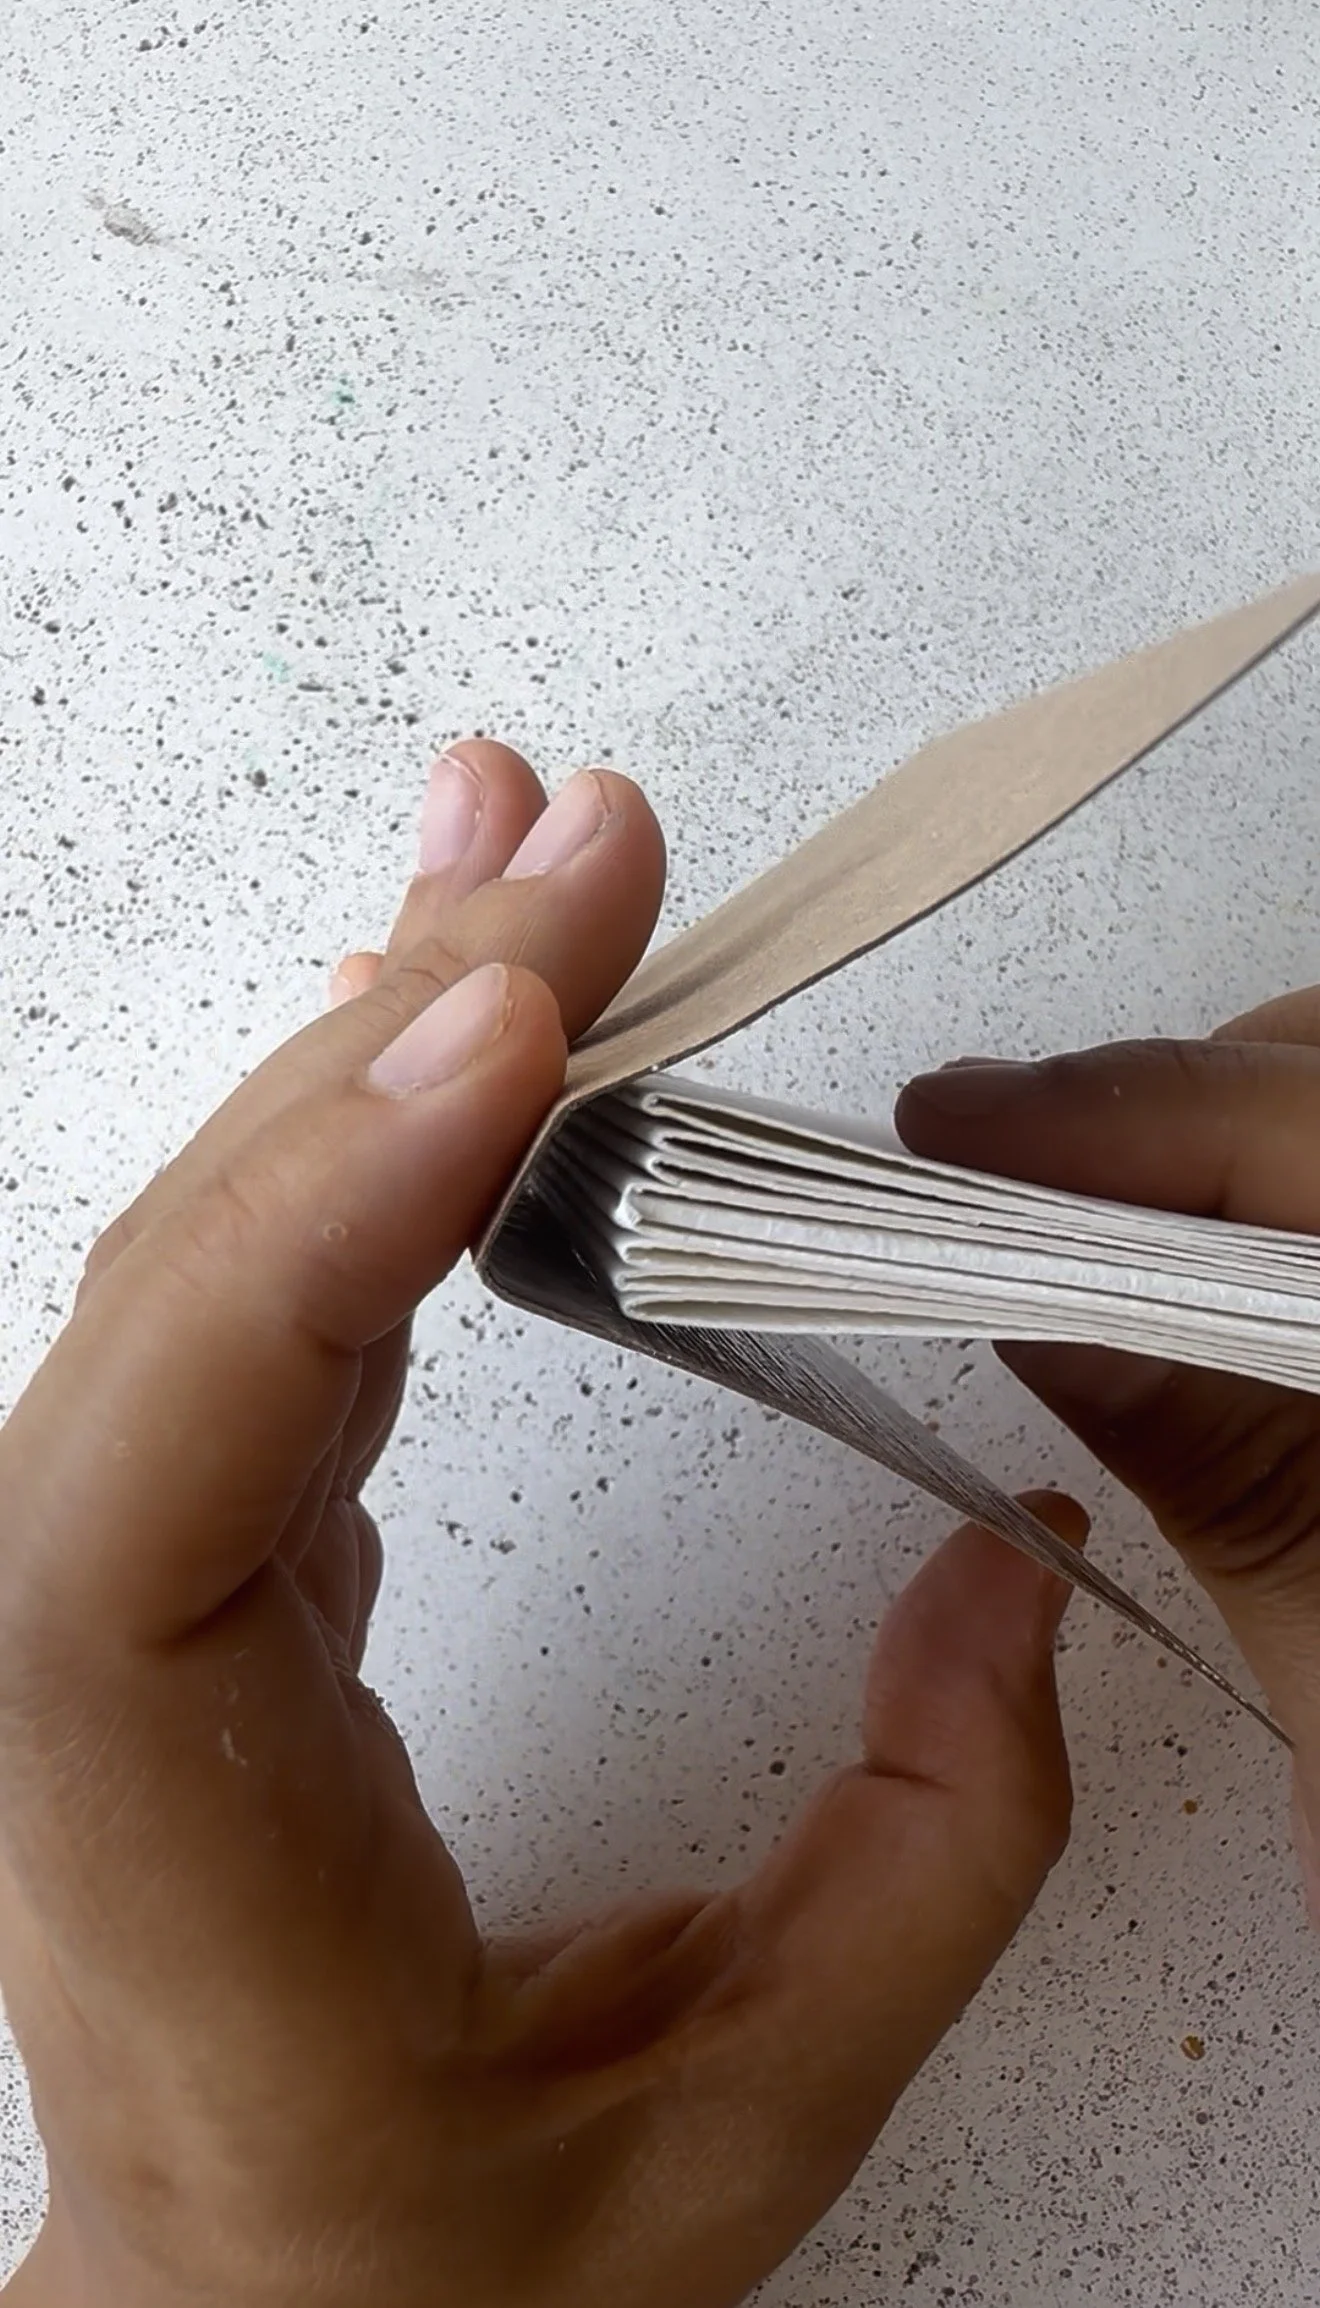
Carefully place your folded book onto the cover, lining up the folded edge of the book with the spine first.
Slowly wrap the front and back covers around the book and press everything firmly into place.
Let it dry before opening and decorating your book.
6. Make It Your Own!
Your mini art book is ready! Fill the pages with tiny paintings, sketches, doodles, words, or anything you like.
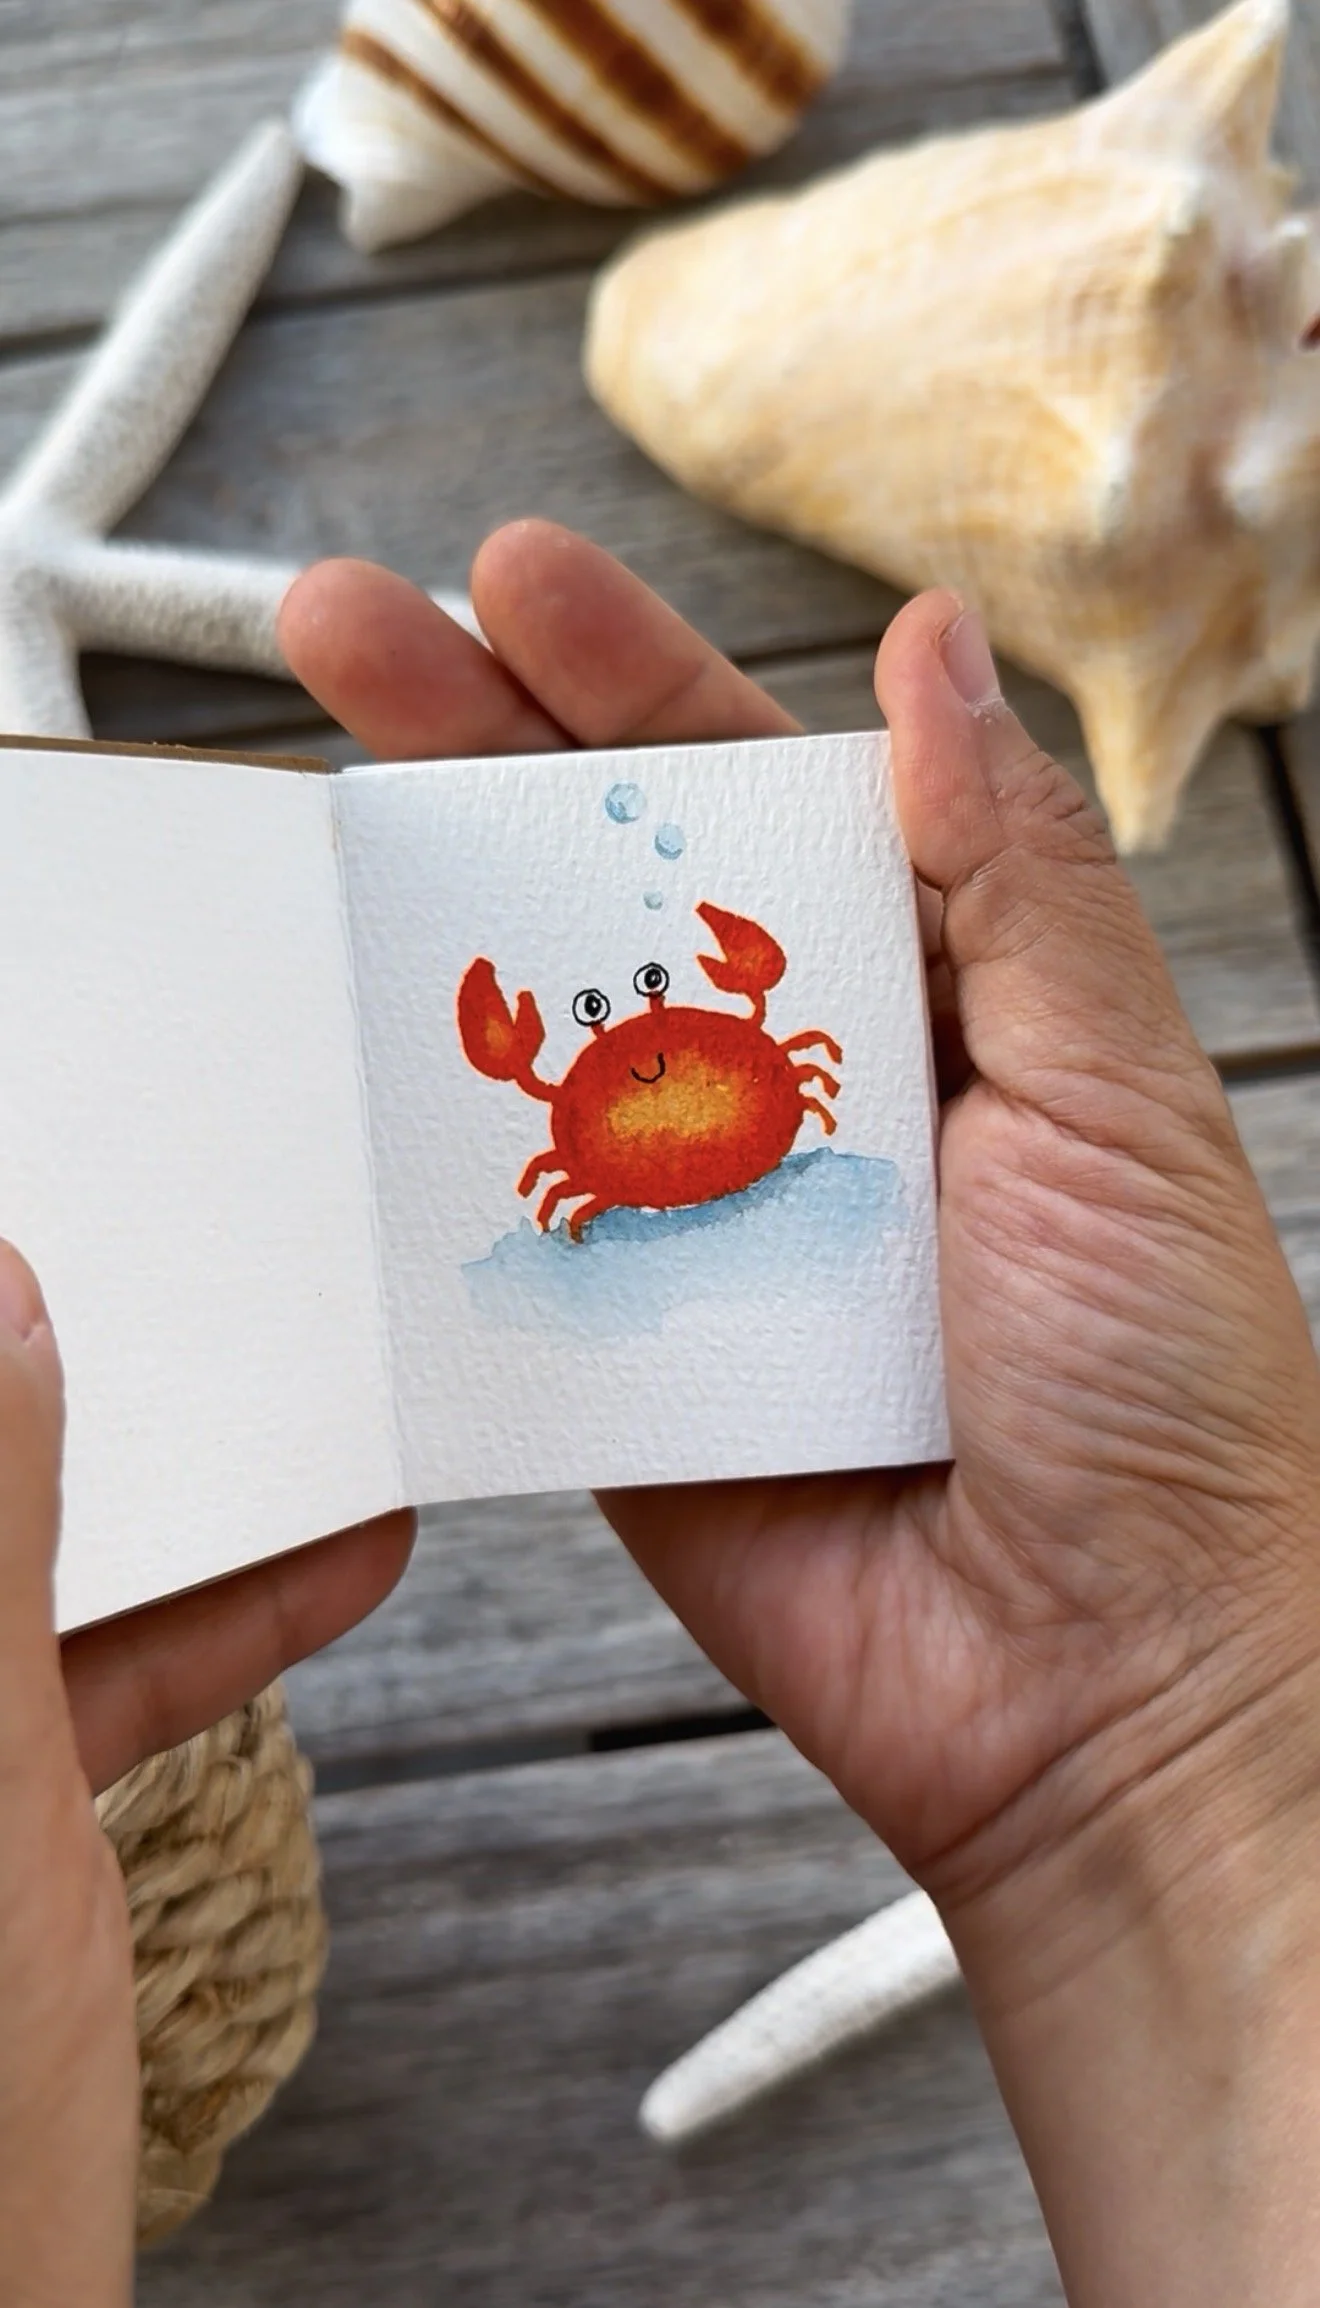
I used watercolor paper and painted a happy little crab in mine. Make yours your own and have fun creating!
Tip: Tuck it into your bag for a cute little on-the-go sketchbook.